

FCM을 활용한 Web Push 화면(Android, IOS, Apple Watch)
🔔 Web Push
웹에서도 네이티브 앱처럼 푸시 알람을 받을 수 있습니다.
PWA 환경이라면 FCM을 이용하여 Android, IOS(Apple Watch)기기 모두 알림을 보낼 수 있습니다.
IOS의 경우 22년도까지 웹 푸시 알림 기능을 원래 지원하지 않았지만, iOS 버전 16.4부터 웹 푸쉬 알림 기능을 지원합니다.
📱 PWA란?
- PWA(Progressive Web Application)는 웹이 웹의 장점과 네이티브 앱의 장점을 모두 가질 수 있도록 다양한 기술들과 표준 패턴을 사용해 개발된 웹 앱을 말합니다.
- PWA의 기능
- 웹에서 네이티브 앱과 같은 동작을 가능하게 함
- 캐싱으로 로딩시간 단축 및 성능을 향상시킬 수 있음
- 오프라인에서 동작, 설치, 동기화, 푸시 알림 등
⚡ FCM이란?
- FCM은 Firebase Cloud Messaging의 약자로, 무료로 메시지를 안정적으로 전송할 수 있는 교차 플랫폼 메시징 솔루션입니다.
- 모든 사용자에게 알림 메세지를 전송할 수도 있고, 그룹을 지어 메시지를 전송할 수도 있습니다.
- Friebase의 서비스는 요금 정책에 따라, 이용할 수 있는 범위가 다르지만 FCM은 요금 정책에 구분 없이 무료로 사용하는 것이 가능합니다.
🔎 FireBase 사용법
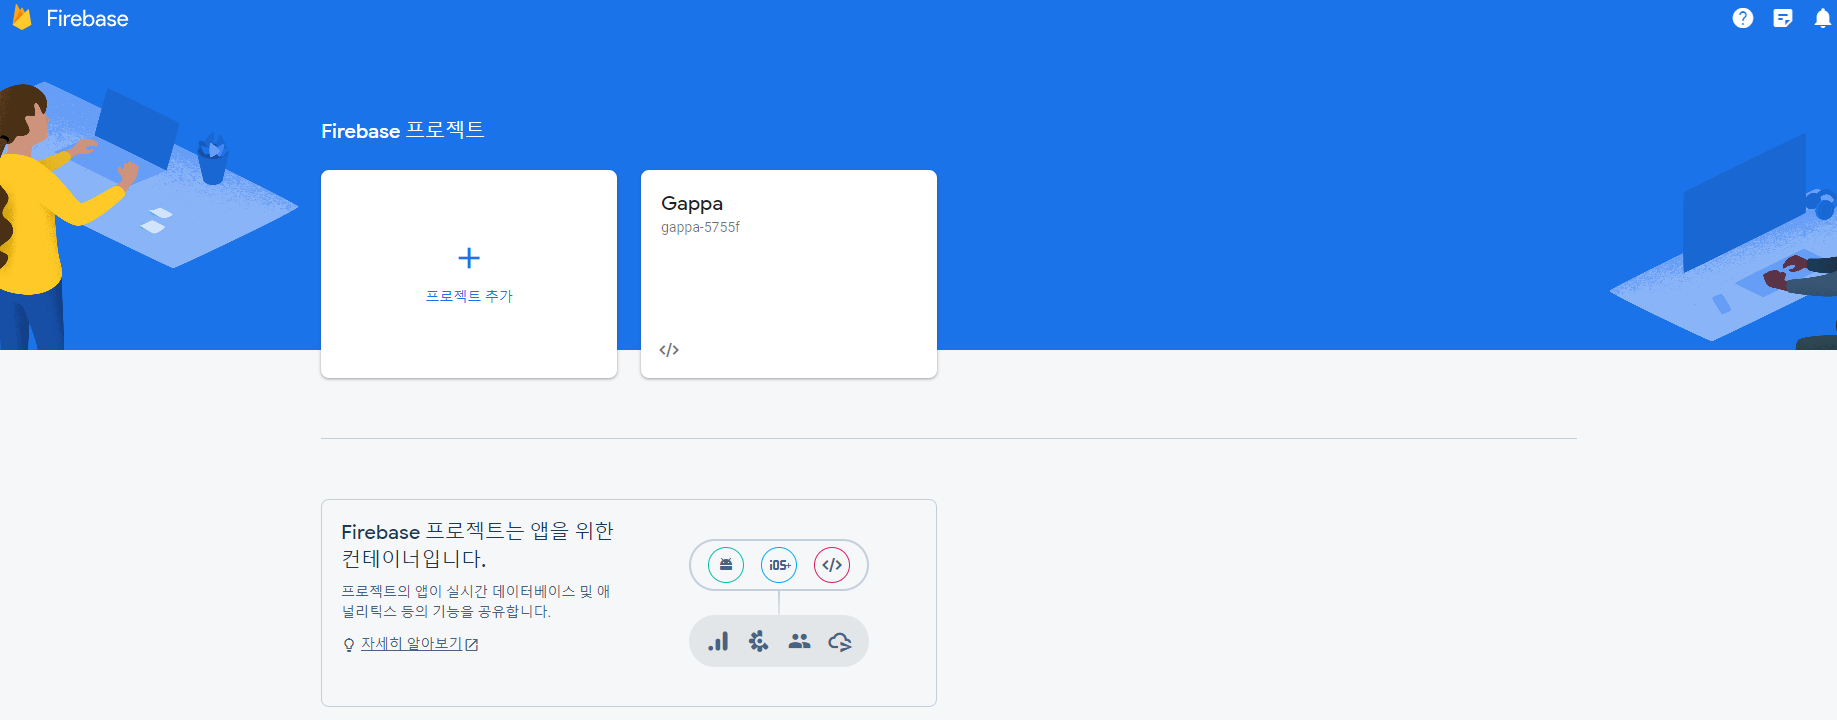
FireBase 프로젝트 생성
https://console.firebase.google.com/u/0/
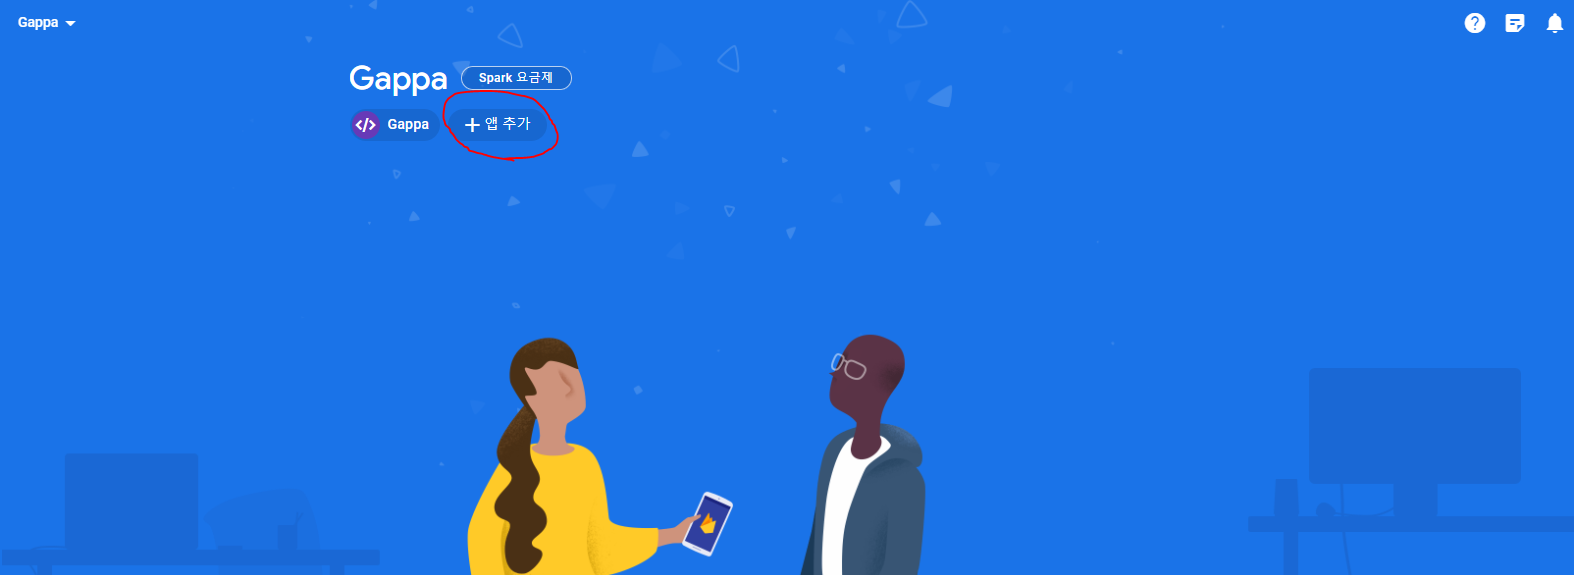
앱 등록
생성한 프로젝트에 들어가 앱 추가를 누르고 웹을 선택한다.
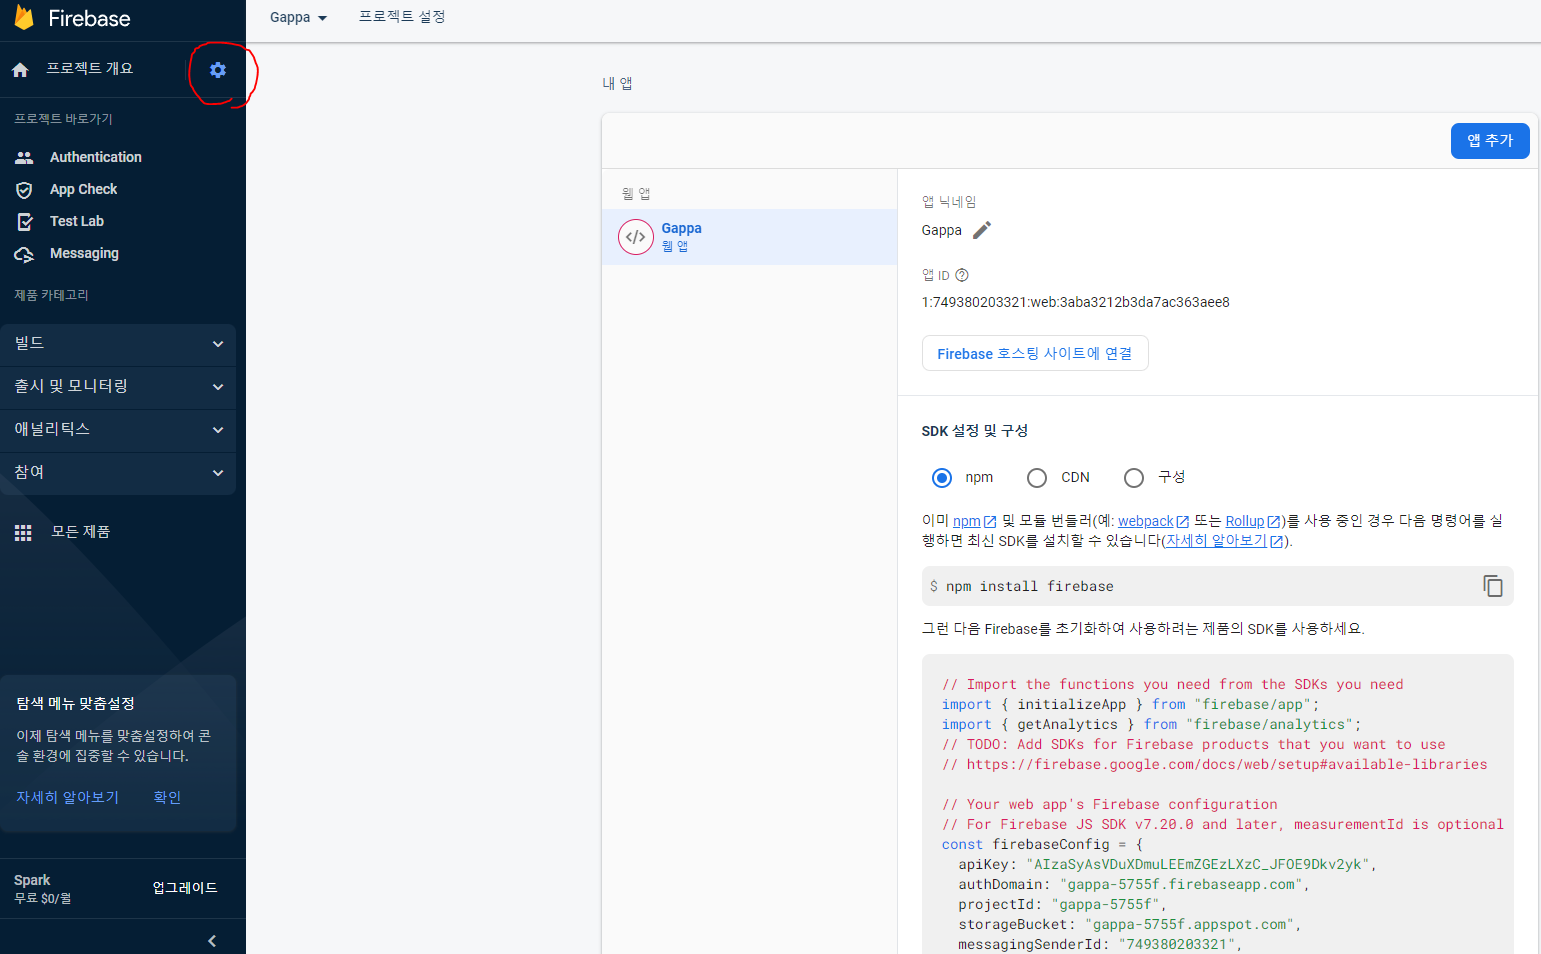
SDK(Software Development Kit) 복사하기
프로젝트 개요 오른쪽에 설정 -> 프로젝트 설정 -> 내 앱 -> 웹앱
비밀 KEY 파일 생성
프로젝트 페이지 > 설정 > 서비스 계정
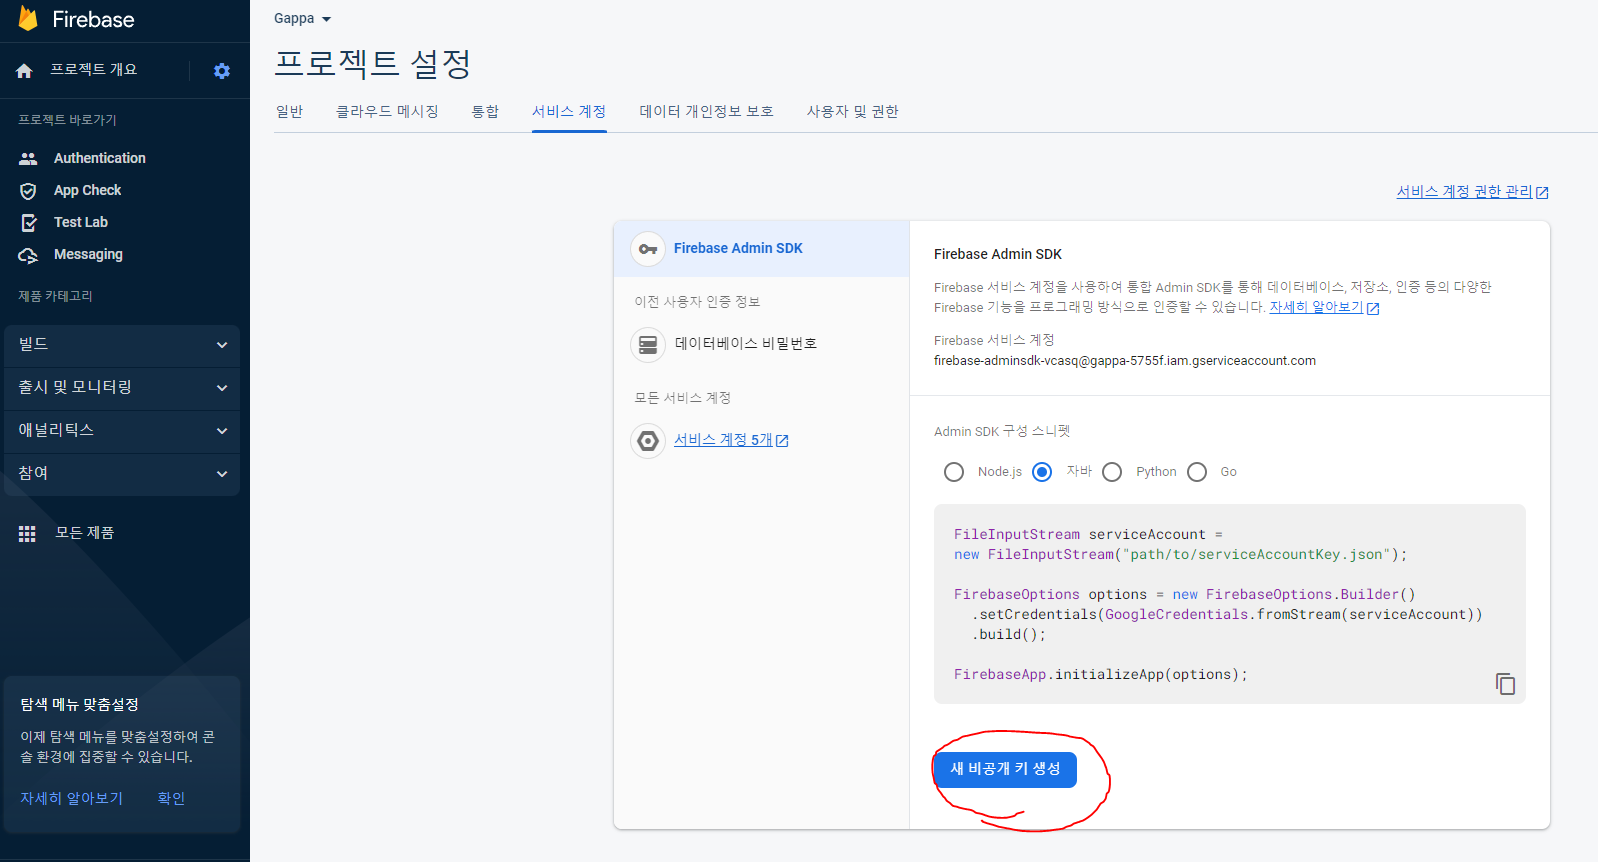
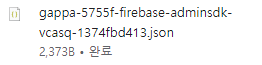
키를 생성하면 json형식의 파일로 다운받아진다. 잘 보관해놓기.
💻 SpringBoot 백엔드 설정
dependency 추가
build.gradle
dependencies {
	implementation 'com.google.firebase:firebase-admin:7.1.1'
}
FCM 초기화
json 파일로 생성된 비공캐 키 파일을 프로젝트의 resouces 디렉토리로 위치시켜 주었습니다. 비밀키 파일은 .gitignore 목록에 추가한 다음 @Value를 사용하여 불러오도록 하였습니다.
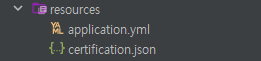
application.yml
# firebase
fcm:
  certification: certification.json
FCMInitializer.java
@Slf4j
@Component
public class FCMInitializer {

    @Value("${fcm.certification}")
    private String googleApplicationCredentials;

    @PostConstruct
    public void initialize() throws IOException {
        ClassPathResource resource = new ClassPathResource(googleApplicationCredentials);

        try (InputStream is = resource.getInputStream()) {
            FirebaseOptions options = FirebaseOptions.builder()
                    .setCredentials(GoogleCredentials.fromStream(is))
                    .build();

            if (FirebaseApp.getApps().isEmpty()) {
                FirebaseApp.initializeApp(options);
                log.info("FirebaseApp initialization complete");
            }
        }
    }
}
토큰 관리
알림 허용시에 클라이언트는 FCM 토큰(단말 토큰)을 서버에 전달하는데 서버는 해당 토큰을 DB에 저장한 다음, 토큰 목록을 관리해야 합니다. RDS에 유저 테이블에 FCM 토큰 필드를 추가할 수도 있지만, 토큰 갱신 및 삭제 작업이 자주 발생하고 유효 기간을 통해 토큰을 관리해주기 위해 인메모리 데이터베이스 Redis를 토큰 관리 저장소로 선택하였습니다.
토큰 저장하기
FCMService.java
@Service
@Transactional(readOnly = true)
@RequiredArgsConstructor
public class FCMService {

    private final UserRepository userRepository;
    private final RedisUtil redisUtil;

    // FireBase 토큰 redis에 저장
    public ResponseEntity<?> saveToken(FCMTokenDto fcmTokenDto, long member_id) {
        Map<String, Object> resultMap = new HashMap<>();
        HttpStatus status = null;
        try {
            User user = userRepository.findById(member_id).orElseThrow(() -> new IllegalArgumentException("회원을 찾을 수 없습니다."));
            redisUtil.save(user.getPhone(), fcmTokenDto.getToken());
            status = HttpStatus.OK;
        } catch (Exception e) {
            resultMap.put("exception", e.getMessage());
            status = HttpStatus.INTERNAL_SERVER_ERROR;
        }
        return new ResponseEntity<>(resultMap, status);
    }


}
사용자에게 push 알림 전송하기
Firebase의 messaging.Message을 import하여 ttl, title, content을 설정합니다.
ttl 값을 300으로 설정하면, 이는 300초 즉 5분을 의미합니다. 이 시간 내에 메시지를 수신할 수 있는 디바이스가 온라인 상태가 되면 메시지가 전달하고, 만약 이 시간 내에 디바이스가 온라인 상태가 되지 않는다면 FCM 서버는 메시지를 삭제하고 더 이상 전송 시도를 하지 않습니다.
FCMService.java
@Service
@Transactional(readOnly = true)
@RequiredArgsConstructor
public class FCMService {

    private final UserRepository userRepository;
    private final RedisUtil redisUtil;

    // 사용자에게 push 알림
    public ResponseEntity<?> pushNotification(long member_id, String content){
        Map<String, Object> resultMap = new HashMap<>();
        HttpStatus status = null;
        try {
            User user = userRepository.findById(member_id).orElseThrow(() -> new IllegalArgumentException("회원을 찾을 수 없습니다."));
            if (!redisUtil.hasKey(user.getPhone())) {
                resultMap.put("message", "유저의 FireBase 토큰이 없습니다.");
                status = HttpStatus.BAD_REQUEST;
            }
            else {
                String token = redisUtil.getData(user.getPhone());
                Message message = Message.builder()
                        .setToken(token)
                        .setWebpushConfig(WebpushConfig.builder()
                                .putHeader("ttl", "300")
                                .setNotification(new WebpushNotification("Gappa", content))
                                .build())
                        .build();
                String response = FirebaseMessaging.getInstance().sendAsync(message).get();
                status = HttpStatus.OK;
                resultMap.put("response", response);
            }
        } catch (Exception e) {
            resultMap.put("message", "요청 실패");
            resultMap.put("exception", e.getMessage());
            status = HttpStatus.INTERNAL_SERVER_ERROR;
        }

        return new ResponseEntity<>(resultMap, status);
    }
}
💡 React 프론트엔트 설정
Service Worker 설정
웹 푸시를 구현하기 위해서는 서비스 워커를 설정해야 합니다. Service Worker는 웹 페이지와는 독립적으로 백그라운드에서 실행되는 JavaScript로, 주로 오프라인 캐싱, 푸시 알림, 백그라운드 데이터 동기화 등의 기능을 위해 사용됩니다.
서비스워커 스크립트 파일은 public 폴더에 firebase-message-sw.js 라는 이름으로 따로 생성해주어야 합니다. 파일명이 반드시 firebase-message-sw.js 이어야 FCM 서비스를 이용할 수 있습니다.
public/firebase-message-sw.js
self.addEventListener("install", function (e) {
  self.skipWaiting();
});

self.addEventListener("activate", function (e) {
});

self.addEventListener("push", function (e) {
  if (!e.data.json()) return;

  const resultData = e.data.json().notification;
  const notificationTitle = resultData.title;
  const notificationOptions = {
    body: resultData.body,
    icon: resultData.image,
    tag: resultData.tag,
    ...resultData,
  };

  self.registration.showNotification(notificationTitle, notificationOptions);
});

self.addEventListener("notificationclick", function (event) {
  const url = "/";
  event.notification.close();
  event.waitUntil(clients.openWindow(url));
});
Firebase 메서드 설정
복사한 Firebase SDK를 붙여 넣습니다. 이때, key 값들은 보안상 문제가 될 수 있으므로, 환경변수로 관리합니다.
FCM.jsx
// Import the functions you need from the SDKs you need
import { initializeApp } from "firebase/app";
import { getAnalytics } from "firebase/analytics";
// TODO: Add SDKs for Firebase products that you want to use
// https://firebase.google.com/docs/web/setup#available-libraries

// Your web app's Firebase configuration
// For Firebase JS SDK v7.20.0 and later, measurementId is optional
const firebaseConfig = {
  apiKey: "",
  authDomain: "",
  projectId: "",
  storageBucket: "",
  messagingSenderId: "",
  appId: "",
  measurementId: ""
};

// Initialize Firebase
const app = initializeApp(firebaseConfig);
const analytics = getAnalytics(app);
VAPID 키 발급
Web Push 프로토콜 표준은 VAPID 인증 방식을 사용해야 합니다. FCM은 VAPID 인증을 쉽게 제공해 줍니다.
VAPID 키를 발급받기 위해 Firebase 콘솔 > 프로젝트 설정 > 클라우드 메시징에서 웹 푸시 인증서를 생성합니다.
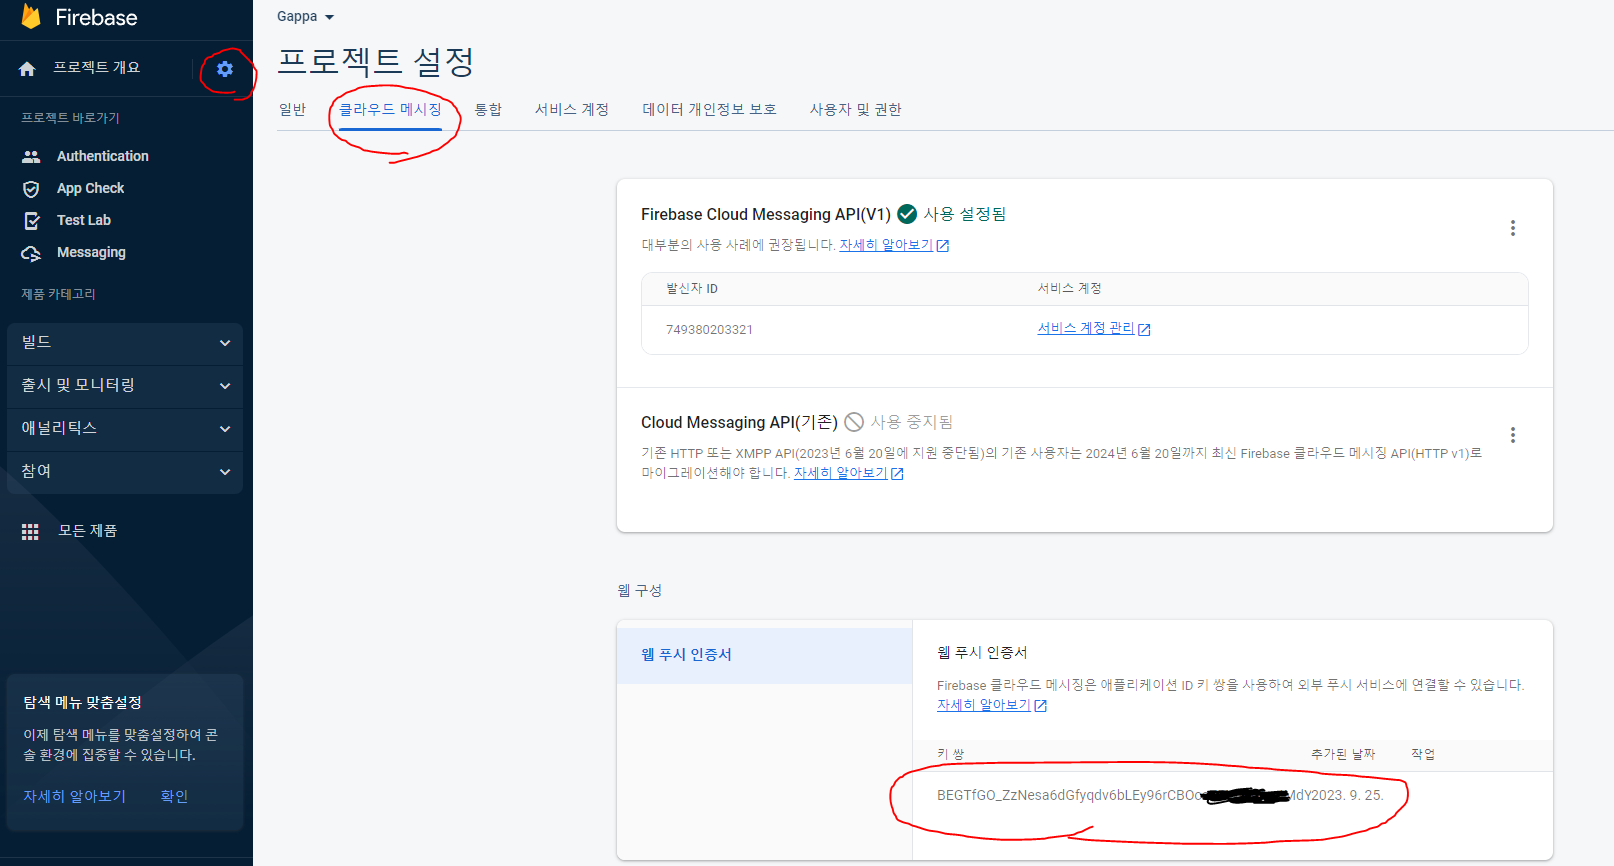
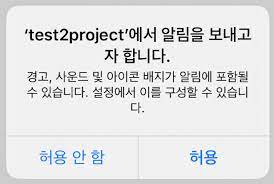
VAPID 키를 복사하여 getToken 메서드를 통해 토큰을 발급받습니다. 이때 사용자 기기의 알림 권한이 허용되어야 fcm 토큰을 발급 받을 수 있습니다. 토큰은 백엔드로 전달하여 Redis에서 관리합니다.
FCM.jsx
async function getFirebaseToken() {
    try {
      const token = await getToken(messaging, {
        vapidKey: " process.env.VAPID_KEY",
      });

      if (token) {
        localStorage.setItem("fcmToken", token);
        setting(token);
      } else {
        setPushEnabled(false);
        return null;
      }
    } catch (error) {
      console.error("Error getting token: ", error);
      setPushEnabled(false);
      return null;
    }
  }

  const setting = (token) => {
    const body = {
      token : token
    };
    customAxios.post("/fcm", body)
    .then((res)=>{
      toast.success("푸시 알림을 받습니다", {
        duration: 1000,
      });
      setTimeout(() => {
      }, 1000);
    })
    .catch((res)=>{
      setPushEnabled(false);
    })
  }
⏰ 알림 권한 설정
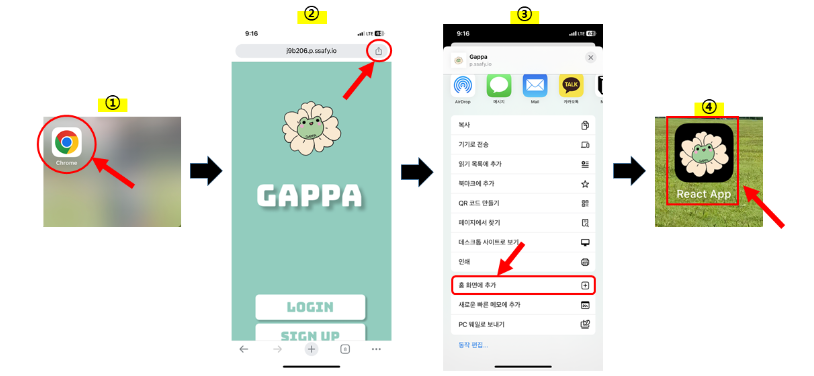
- IOS의 경우 Push알림을 받기위해선 사용자가 직접 사이트를 홈 화면에 추가하여 앱 형태로 꺼내야합니다.
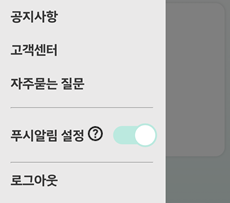
- 또한 Android는 사이트에 접속할 때 알림 권한 허용 요청을 할 수 있지만, IOS는 자동 요청이 불가능합니다. 사용자가 직접 버튼을 눌러 알림을 허용하도록 유도해야 합니다. 사이드바에 푸시 알림 설정 토글 버튼을 두어 사용자가 직접 누르면 알림 권한 허용이 요청되도록 하였습니다.
📢 Web Push 알림 테스트
백엔드로 웹 푸시 알림을 요청할 수 있지만 Firebase 사이트에서도 테스트로 웹 푸시 알림을 보낼 수 있습니다.
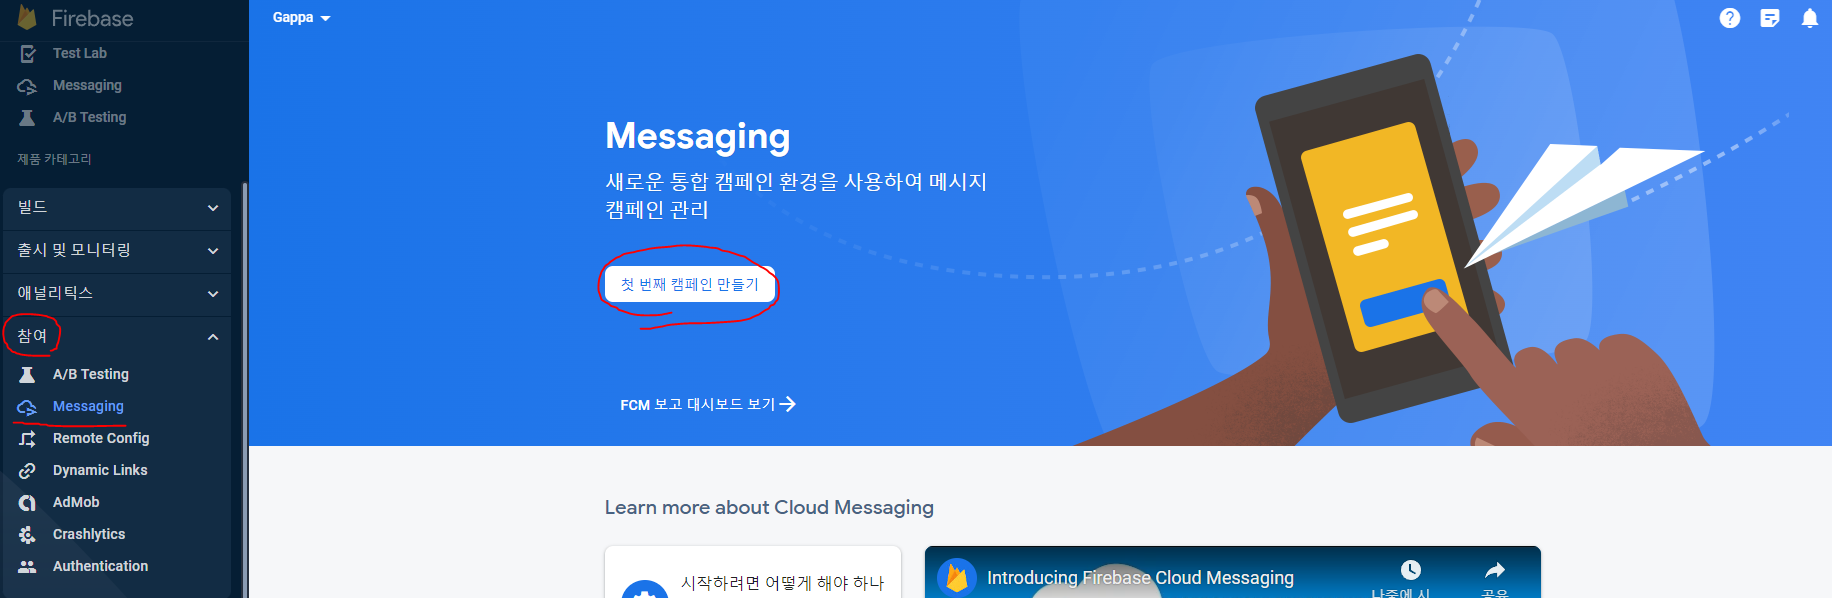
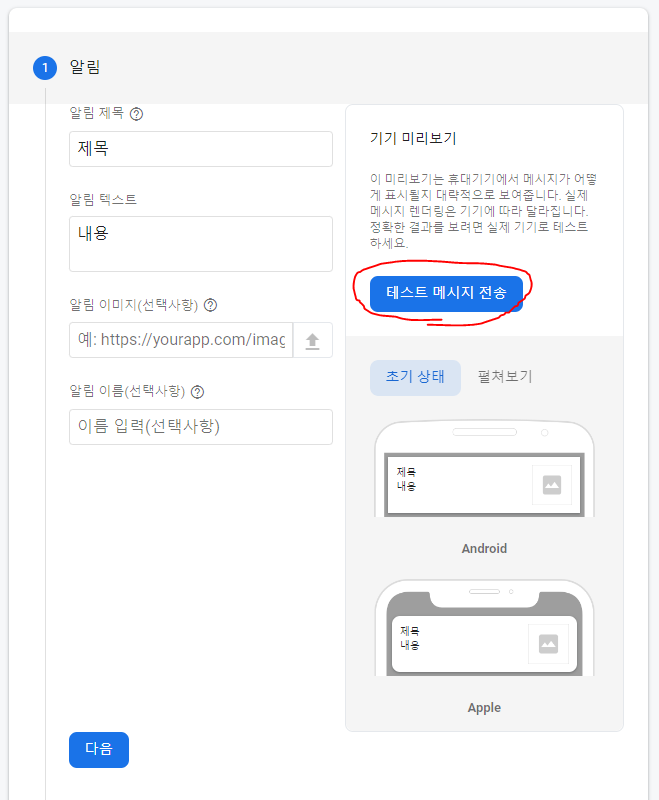
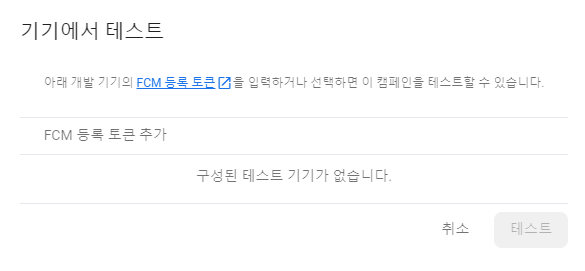
발급받은 FCM 토큰을 통해 특정 기기에 Push 알림이 오는지 테스트 할 수 있습니다.
참조:
https://headf1rst.github.io/TIL/push-notification